Octo Onboarding Series (1): Install It, Say Your First Word to It
This is the first post in the “Octo Onboarding Series.” The next few posts each walk through one concrete task using Skills, MCP, Loop, and Cron — but today there’s only one job: get octo installed, and get it to do one real thing for you.
Which version to install
There’s no fork in the install step — whether you end up living in the terminal or the browser, you install the exact same thing:
curl -fsSL https://octo-agent.dev/install.sh | shThis detects your architecture, downloads the matching prebuilt release, verifies its SHA-256, and puts octo on your PATH. If you’d rather not touch a terminal at all, macOS and Windows both have a double-click installer on the latest release (octo-setup.pkg / octo-setup.exe) — same underlying binary, same PATH setup, just a GUI wrapper around it.
After install, the road splits into two — and that split is what this post is really about. The terminal path talks to octo directly on the command line. The browser path opens a visual dashboard for configuration and chat. Both write to the same ~/.octo/config.yml, so which one you pick is purely a matter of taste, and you can switch any time.
flowchart LR
    A["octo installed"] --> B{"Which do you prefer?"}
    B -->|"Type commands"| C["Terminal path<br/>octo config"]
    B -->|"Click around"| D["Browser path<br/>octo serve -d"]
    C --> E["~/.octo/config.yml"]
    D --> E
    E --> F["Say your first thing to octo"]
The browser path: an onboarding wizard in your browser
Let’s start with the browser path — it’s the friendliest entry point if you have zero command-line habit. Once installed, run:
octo serve -d                   # start the local server in the background
open http://127.0.0.1:8088      # macOS; use xdg-open on Linux, or let the Windows installer open it for you
The browser opens a setup wizard. Step one is picking a UI language:
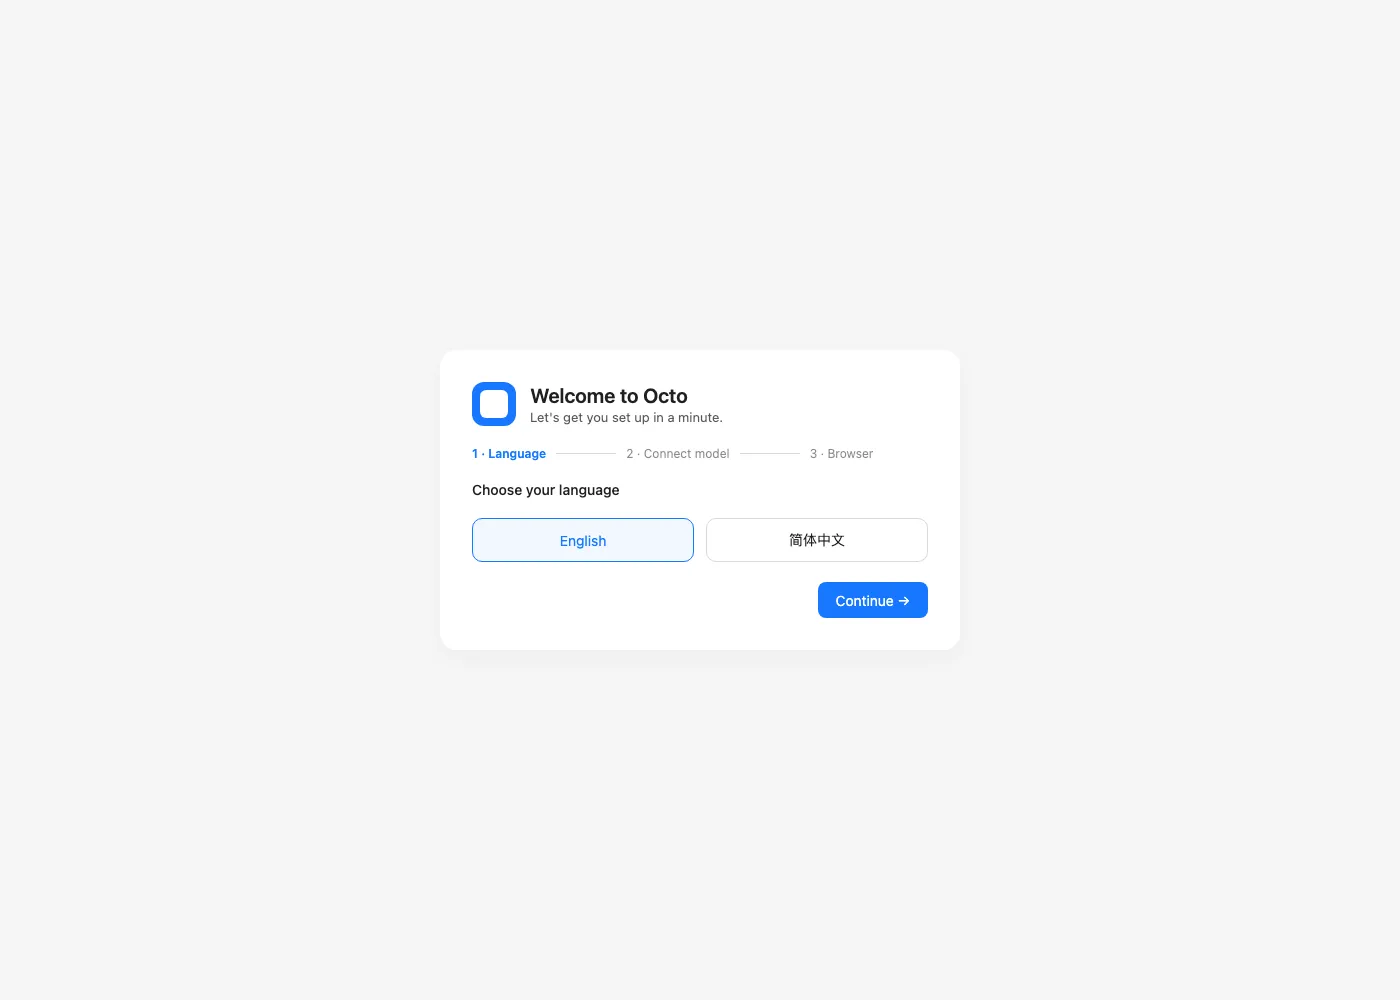
Continue, and step two connects an AI model — pick a provider (Anthropic, OpenAI, DeepSeek, Kimi, Bailian, and a handful more in the dropdown), fill in the model name and API key, and click “Test & continue”:
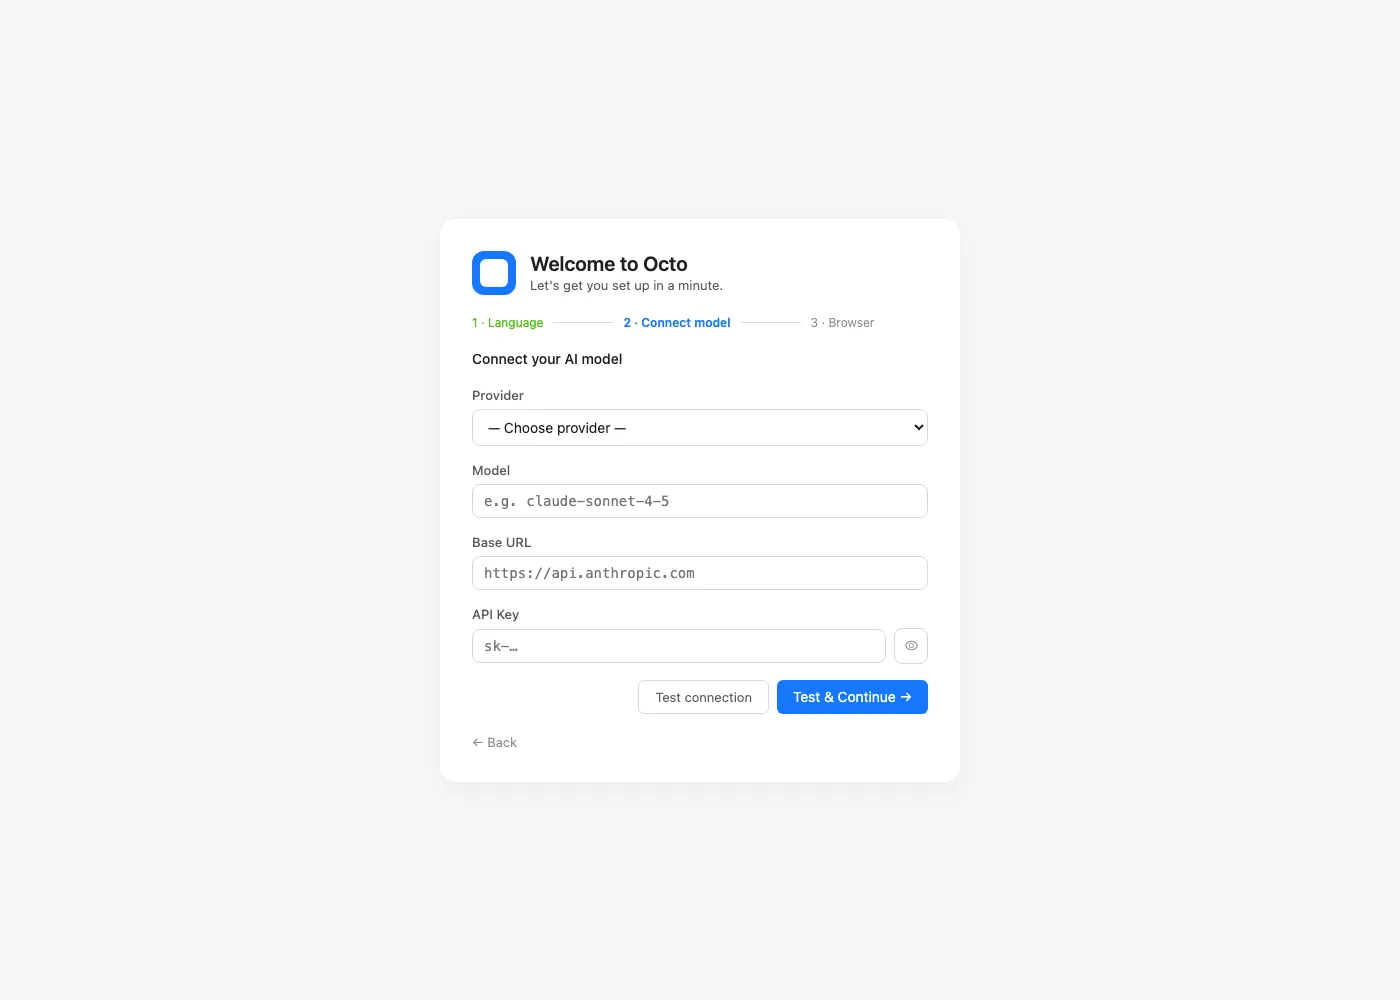
127.0.0.1 is the loopback address, so this page needs no separate access key — it drops you straight into onboarding right after install. Step three is an optional browser-automation connection (skip it if you don’t need Chrome remote-debugging), and finishing the three steps lands you on the main dashboard — the exact same place the terminal path eventually ends up:
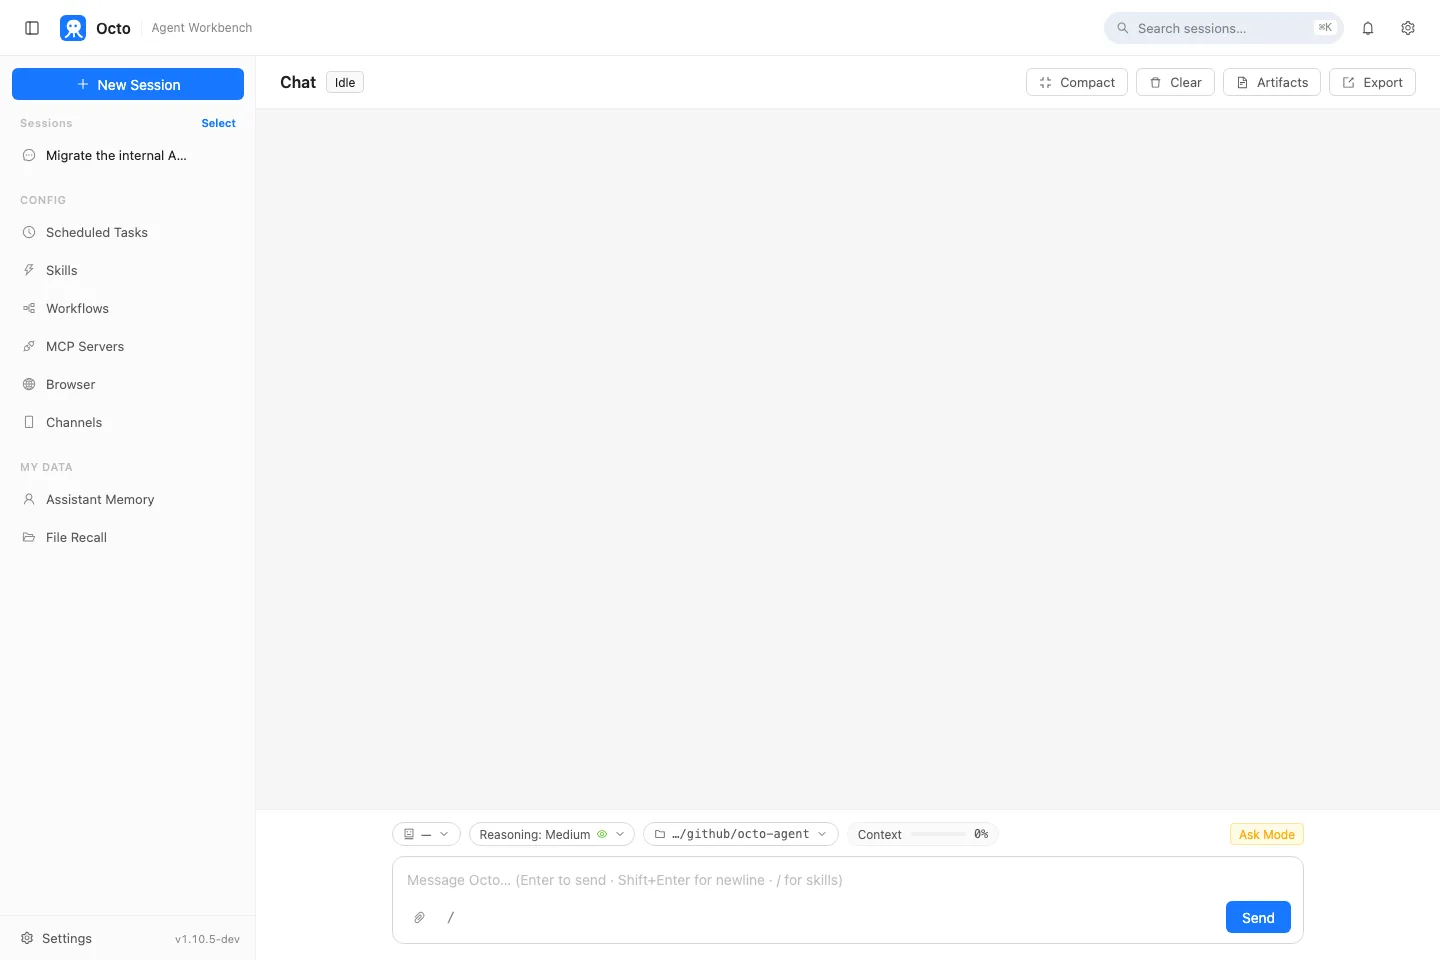
The sidebar entries — Scheduled Tasks, Skills, Workflows, MCP Servers — are exactly the things the rest of this series unpacks one by one.
The terminal path: three lines to a working conversation
If you’re more of a command-line person, skip the browser entirely:
export ANTHROPIC_API_KEY=sk-ant-...      # swap in your own key; OPENAI_API_KEY etc. also work
octo config                              # save your default provider/model once, no more export needed
Once that’s saved, there are two basic ways to use it. The first is a headless one-shot — one message, a full tool-calling loop, then exit. Good for scripts and CI:
octo "List everything in the current directory grouped by file type, and tell me which file is the largest"The second is the interactive TUI — just run octo with no arguments, and you get a terminal UI with session history, tool-call cards, and streaming output:
octo
octo sessions        # list saved sessions
octo -c               # pick a recent session from a list
Both modes are the same agent underneath, with the same built-in tools (file read/write, shell, search…) and the same skill system, all on by default — so even that one throwaway line above was genuinely reading your filesystem and running a command, not just chatting.
The first real conversation asks you a few questions
Whichever path you took, the first time you actually talk to it, octo asks a handful of extra questions — what to call you, your role, any communication preferences. Not small talk: the answers get saved into ~/.octo/soul.md and ~/.octo/user.md, and every conversation after that remembers them without you repeating yourself.
If you answer badly the first time, or just want to redo it, say “re-ask me about my preferences” any time.
Next: get it to do something more specific
Installing and having a first chat is just turning the key. The next post gets to actual work: no Python, no openpyxl — using the built-in Skills system, get octo to generate a real Excel report, formulas and charts included, from a single sentence.
Next in the series: Octo Onboarding Series (2): Skills in Practice — Generate an Excel Report in One Sentence